As a vehicle owner, encountering a dead battery is almost inevitable. Knowing how to properly and safely jump start your vehicle can save you time, money, and stress. In this month’s blog post, we walk you through the situations that require a jump start, the essential equipment to keep in your vehicle, and the steps to safely jump start your vehicle.
When Do You Need a Jump Start?
A jump start is typically needed when your vehicle’s battery is dead or too weak to start the engine. Common situations include:
- Leaving lights on: Interior or exterior lights left on overnight can drain the battery.
- Cold weather: Extremely low temperatures can reduce a battery’s capacity.
- Old battery: Batteries generally last 3-5 years. An older battery may not hold a charge well.
- Electrical issues: Faulty alternators or other electrical problems can prevent the battery from charging properly.
Essential Equipment
To be prepared for a dead battery, keep the following equipment in your vehicle:
- Jumper cables: A good set of jumper cables is crucial. Look for cables that are at least 10-12 feet long and have heavy-duty clamps.
- Portable jump starter: This device can jump start your vehicle without needing another vehicle. It’s especially useful if you are in a remote area.
- Safety gear: Gloves and safety glasses can protect you from sparks and battery acid.
- Owner’s manual: Your vehicle’s manual will have specific instructions and safety warnings for jump starting.
Steps to Safely Jump Start Your Vehicle
Before beginning these steps, make sure that your vehicle is safely away from any other vehicle traffic.
- Position the Vehicles: Park the assisting vehicle close to the dead vehicle, ensuring they do not touch. Turn off both vehicles and engage the parking brakes.
- Prepare the Batteries: Open the hoods and locate the batteries. Identify the positive (+) and negative (-) terminals on both batteries. Clean any corrosion from the terminals if necessary.
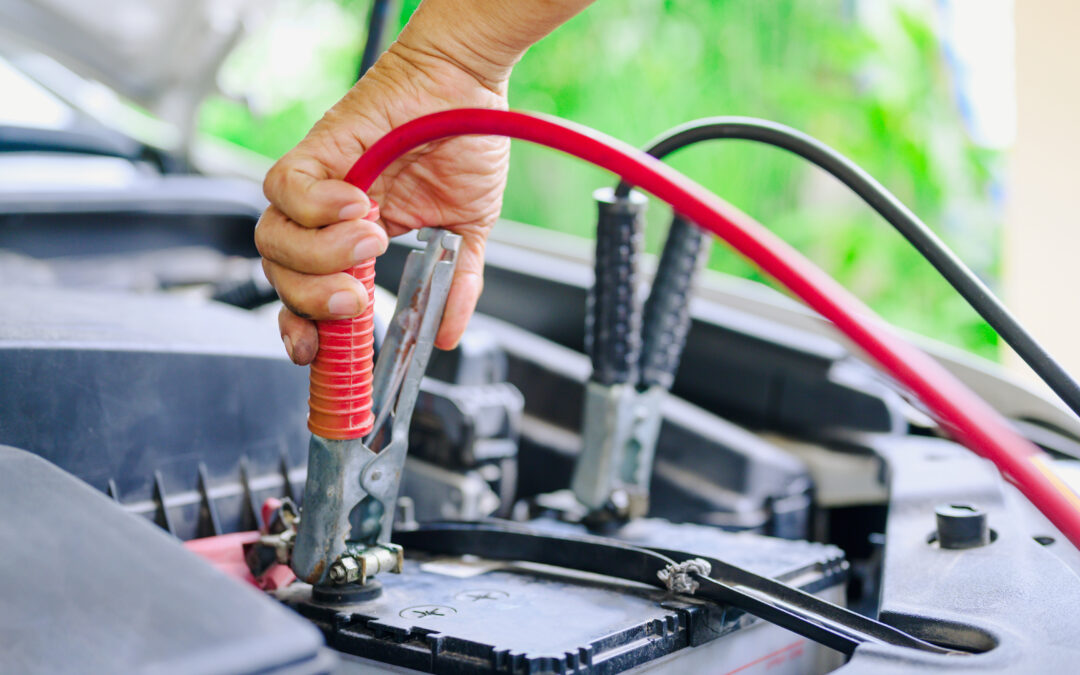
- Connect the Jumper Cables:
- Attach one end of the red (positive) cable to the positive terminal of the dead battery.
- Connect the other end of the red cable to the positive terminal of the assisting battery.
- Attach one end of the black (negative) cable to the negative terminal of the assisting battery.
- Connect the other end of the black cable to an unpainted metal surface on the dead vehicle, away from the battery. This acts as a ground.
- Start the Assisting Vehicle: Start the engine of the assisting vehicle and let it run for a few minutes. This will allow the dead battery to charge.
- Start the Dead Vehicle: Attempt to start the dead vehicle. If it does not start, wait a few more minutes and try again. Once the dead vehicle starts, let both vehicles run for a few minutes.
- Disconnect the Jumper Cables: Remove the cables in the reverse order:
- Disconnect the black cable from the grounded metal surface on the dead vehicle.
- Disconnect the black cable from the negative terminal of the assisting battery.
- Disconnect the red cable from the positive terminal of the assisting battery.
- Disconnect the red cable from the positive terminal of the dead battery.
- Drive the Jump Started Vehicle: To ensure the battery is fully charged, drive the jump started vehicle for at least 20 minutes. This will help recharge the battery.
By following these steps and keeping the necessary equipment in your vehicle, you can safely and effectively jump start your vehicle, getting back on the road with confidence. If you would like to have the charge checked on your vehicle battery, contact the service professionals at Campus Repair to schedule an appointment.