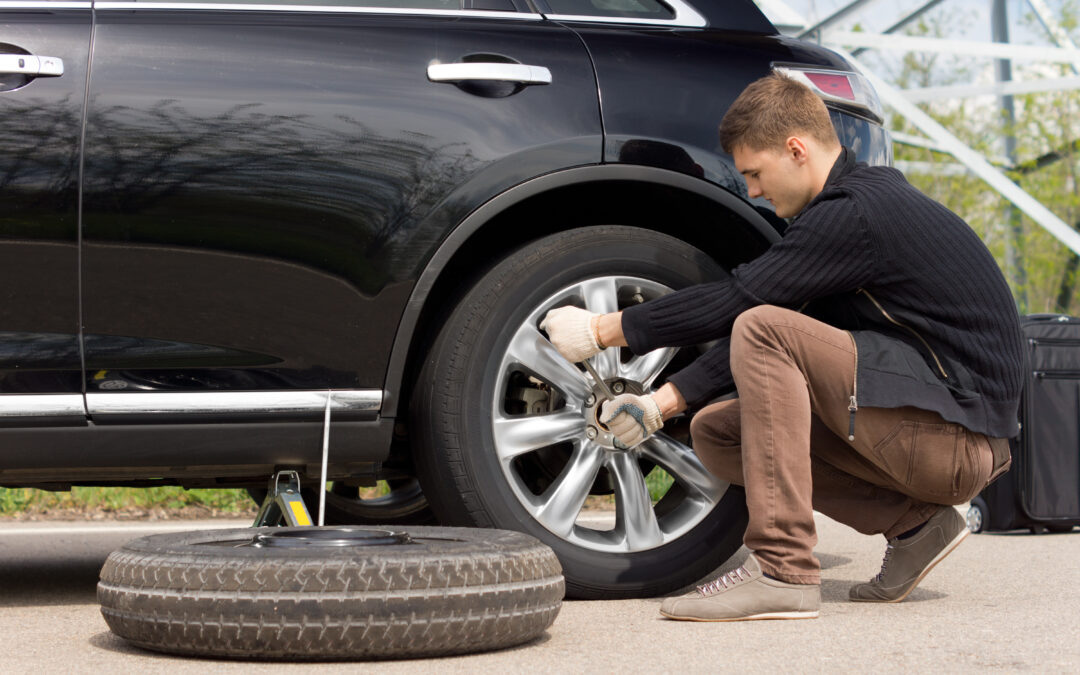
If you have new drivers in your household or are sending your kids off to college this summer with their vehicles, it is important to make sure that they understand basic vehicle care. One common task that many younger drivers are unfamiliar with is changing a flat tire. Experiencing a flat tire can be a daunting situation. However, with a little knowledge and preparation, anyone can handle this common roadside emergency with confidence. In this month’s blog post, we walk through the steps and safety tips for changing a flat tire.
Necessary Equipment
Before you start, make sure you have the following items in your vehicle:
- Spare tire
- Jack
- Lug wrench
- Vehicle owner’s manual
- Flashlight
- Gloves
- Wheel wedges or bricks
It is useful to go through changing a tire at home with your kids in a controlled environment, so they understand how it works and can be more level-headed in the event they experience a flat while on the road.
Step-by-Step Instructions
- Find a Safe Location: As soon as you realize you have a flat tire, do not abruptly brake or turn. Slowly reduce your speed and look for a safe, level area to pull over. Ideally, find a spot away from traffic, such as a parking lot or a wide shoulder. Turn on your hazard lights to alert other drivers.
- Apply the Parking Brake and Wheel Wedges: Once stopped, apply the parking brake to prevent your vehicle from rolling. Place wheel wedges or bricks in front of or behind the tires to further secure the vehicle. If you are changing a rear tire, place the wedges in front of the front tires, and vice versa.
- Loosen the Lug Nuts: Use the lug wrench to loosen the lug nuts on the flat tire. Turn them counterclockwise, but do not remove them completely yet. This can be easier to do while the tire is still on the ground.
- Lift the Vehicle with the Jack: Consult your vehicle owner’s manual to find the correct jacking point, usually located under the vehicle’s frame near the flat tire. Place the jack under this point and raise the vehicle until the flat tire is about six inches off the ground. Never place any part of your body under the vehicle while it is raised.
- Remove the Flat Tire: Finish unscrewing the lug nuts and carefully remove the flat tire. Place it under the vehicle as a precaution in case the jack fails.
- Mount the Spare Tire: Align the spare tire with the wheel bolts and push it onto the hub. Hand-tighten the lug nuts as much as possible.
- Lower the Vehicle and Tighten the Lug Nuts: Use the jack to lower the vehicle until the spare tire is just touching the ground. Tighten the lug nuts in a star pattern to ensure even pressure. Once all the lug nuts are snug, lower the vehicle completely and remove the jack. Use the lug wrench to fully tighten the lug nuts.
- Check the Spare Tire Pressure: Ensure the spare tire is properly inflated. If it’s a temporary spare (often called a “donut”), remember that it’s not meant for long-distance driving or high speeds. Drive carefully to a tire repair shop as soon as possible.
Safety Tips
- Stay Visible: Always turn on your hazard lights and use reflective triangles or flares if you have them.
- Stay Safe: Never change a tire on a narrow shoulder or near oncoming traffic. Move to a safer location, if necessary, even if it means driving on the flat tire for a short distance.
- Be Prepared: Regularly check the condition and pressure of your spare tire. Keep a flashlight, gloves, and a rain poncho in your vehicle for emergencies.
Changing a flat tire may seem intimidating at first, but with these steps and safety tips, you or your child can be well-prepared to handle the situation. Remember, practice makes perfect, so consider practicing at home in a safe environment to build up confidence.
If you would like to have your tires inspected, contact the service professionals at Campus Repair to schedule an appointment.

